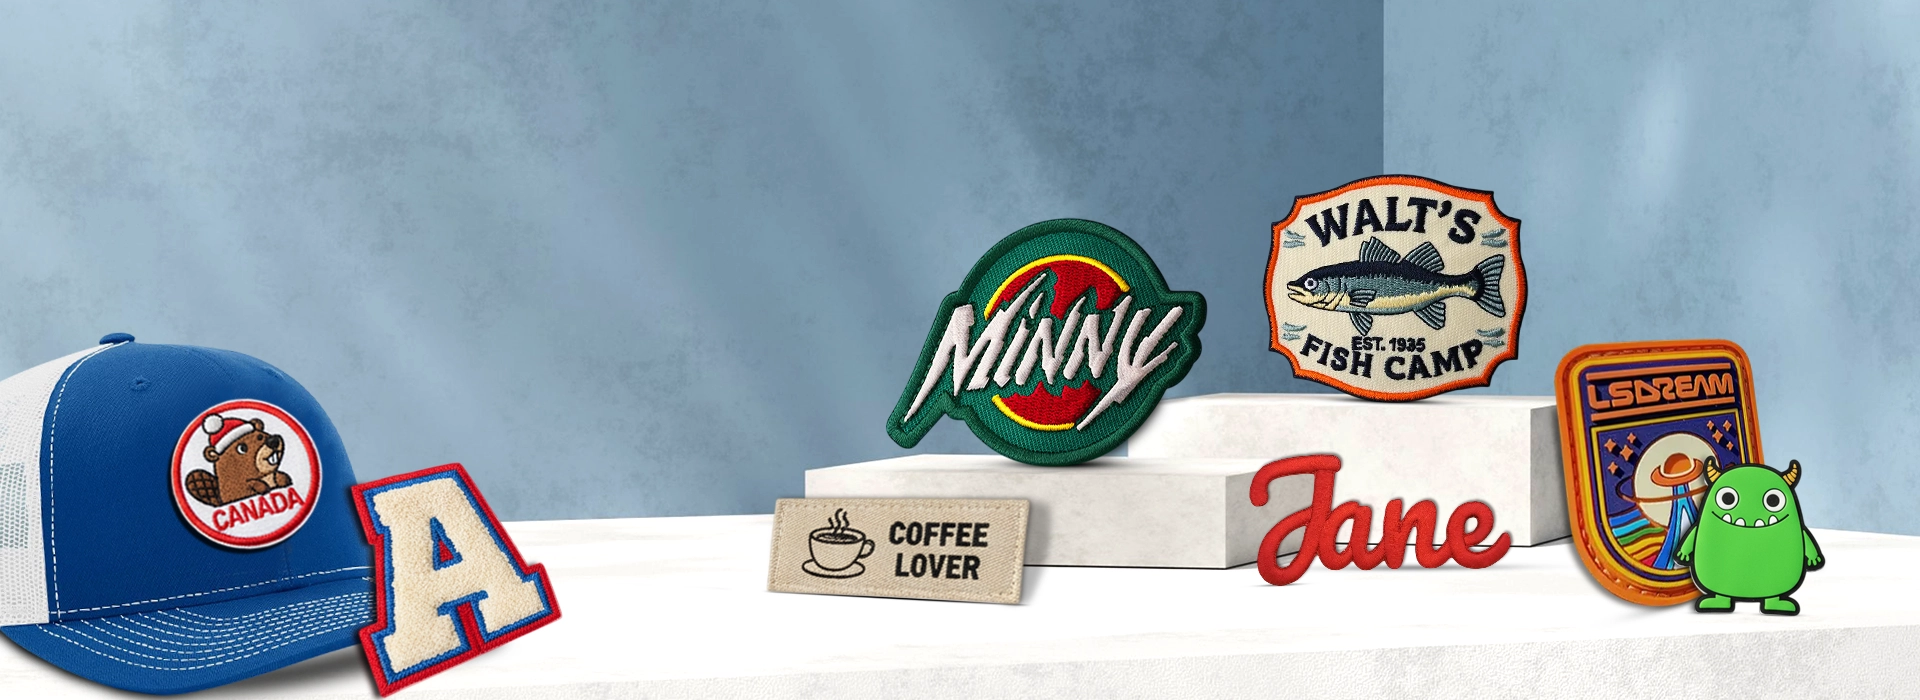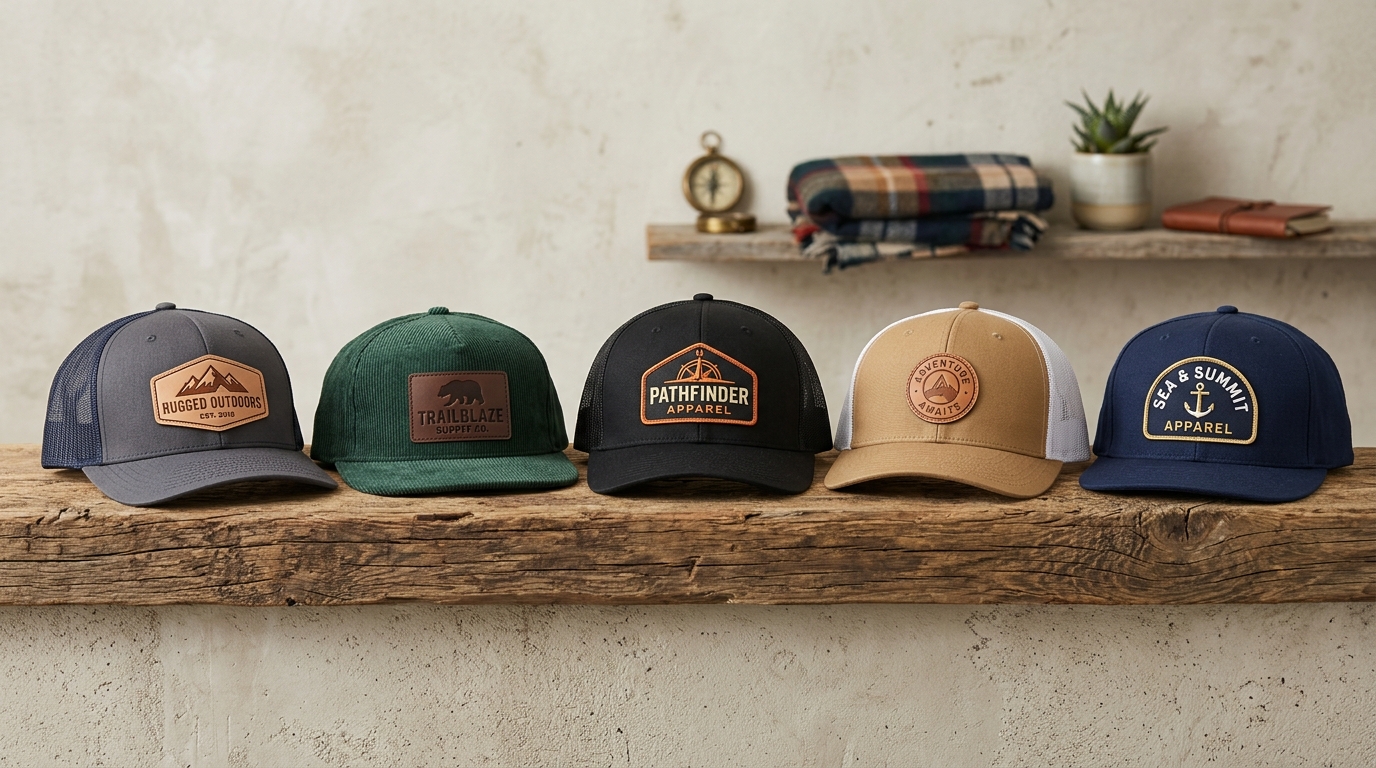
Over the past decade, custom headwear has undergone a monumental shift. While direct-to-cap embroidery once dominated the retail market, custom hat patches have completely taken over premium lifestyle, outdoor, workwear, and corporate headwear branding.
From iconic Richardson 112 trucker caps to sleek Yupoong 6606 snapbacks, Carhartt-style knit beanies, and relaxed unstructured dad hats, patches offer dimensional depth, laser-sharp detailing, and multi-texture appeal that flat direct cap embroidery simply cannot replicate. Furthermore, using custom patches eliminates the needle registration errors and puckered distortion common when sewing directly across stiff crown buckram and front center seams.
In this comprehensive headwear manufacturing manual from Patched Custom, we examine exact crown sizing dimensions, patch material selections (leather, embroidered, woven, PVC), and curved cap heat press parameters to guarantee flawless headwear production runs.
Crown Architecture: 5-Panel vs. 6-Panel Hat Engineering
Before designing your custom hat patch, you must understand the anatomical differences between the two primary crown structures used in modern caps:
Golden Sizing Rules: Dimensions for Snapbacks, Truckers & Beanies
One of the most frequent mistakes apparel decorators make is creating patches that exceed the maximum curvature height of the hat crown. If a patch is too tall, the top edges will flare out or crease into the forehead slope of the cap.
For universal inventory across adult truckers and snapbacks, design your patch with a maximum height of 2.25 inches and a width between 3.0 and 3.75 inches. This dimension fits 98% of commercial cap blanks without wrinkling or protruding into the crown eyelets.
Comparing Hat Patch Styles: Leather vs. Embroidered vs. Woven vs. PVC
Laser-Engraved & Debossed Leather Patches
Leather patch hats represent the premier outdoor, brewery, construction, and lifestyle headwear aesthetic. Using either full-grain vegetable-tanned genuine leather or rich faux leatherette, designs are burned deep into the hide using CO2 laser engraving or stamped with heated metal embossing dies. The natural burnished brown hues against crisp stitching radiate rustic authenticity.
Classic Embroidered Hat Patches
Embroidered patches provide textured three-dimensional stitching and vibrant Pantone thread matching. On structured trucker hats, an embroidered emblem with a crisp laser-cut border or Merrowed overlock edge creates an iconic, athletic look that holds up against sweat, sun, and dirt.
High-Definition Woven Hat Patches
When your brand logo contains tiny micro-typography, fine line art, or gradient color transitions that embroidery needles cannot cleanly resolve, woven patches are the ideal solution. Woven patches use ultra-thin 50-denier polyester threads woven on high-speed Jacquard looms, delivering photo-like clarity while maintaining a thin, flexible profile that hugs cap curves perfectly.
Tactical 3D PVC Rubber Hat Patches
For hunting, fishing, military, and off-road headwear, PVC rubber patches are unmatched. They are 100% waterproof, impervious to sweat and sunscreen stains, and feature deep three-dimensional sculpted relief that makes logos pop off the crown.
Heat Press Attachment: Curved Cap Press Calibration
Never attempt to attach hat patches using a flat t-shirt heat press! A flat platen will crush the visor, flatten the front crown buckram, and fail to apply uniform pressure along the curved forehead contour. A specialized curved cap heat press with a cap tensioning stretcher is required.
- Mount Cap & Engage Tensioner: Pull the cap sweatband downward, slide the crown over the lower curved rubber platen, and clamp the rear buckle or strap tight with the press stretcher arm.
- Pre-Heat Platen Contact: Close the heated platen for 5 seconds to smooth out wrinkles and evaporate humidity from the crown buckram.
- Center the Patch: Align your patch horizontally and vertically with the visor center. Secure it with heat-resistant thermal tape to prevent movement when closing the platen.
- Apply Silicone Foam Pad: Place a flexible 1/8-inch silicone rubber pad over the patch. This ensures the press forces glue into the deep center seam recess of 6-panel caps.
- Execute Dwell & Cool Down: Press for the specified duration. Unclamp the hat and let it rest on the platen until room temperature is reached before testing edges.
Crown Profile Blueprint: Richardson 112 vs Yupoong 6606 vs Flexfit
Different cap blanks possess distinct crown profiles, fabric blends, and front buckram stiffness. Here is how the top headwear silhouettes compare for patch application:
Laser Engraving Calibration for Leather Hat Patches
To produce the ultra-crisp, deep caramel markings seen on premium retail hat patches, CO2 laser operators must calibrate wattage, speed, and focal air assist:
Following laser engraving, our technicians hand-wipe every leather patch with a micro-solvent wash to eliminate loose carbon soot before applying a light acrylic sealant coat. This guarantees that laser-burned leather patches will never smudge soot onto clean hat crowns or white mesh panels.
Preventing Center-Seam Gap Failures on 6-Panel Truckers
The number-one failure point when decorating 6-panel caps with custom patches is the vertical crown center seam. Because the seam folds two layers of heavy twill plus interior seam tape, it stands approximately 1.5mm higher than the surrounding panels.
When a rigid flat or curved metal platen clamps down, it contacts the raised center seam with full force, but leaves microscopic 0.5mm air gaps on either side of the seam ridge. If adhesive cannot reach the low valleys, the patch will separate along those vertical channels within two weeks.
The Patched Custom Fix: We require decorators to use our 1/8" high-density open-cell silicone dampener pads. The flexible silicone squashes down over the high seam and expands into the low valleys, distributing 100% uniform hydrostatic pressure across the entire adhesive backing.