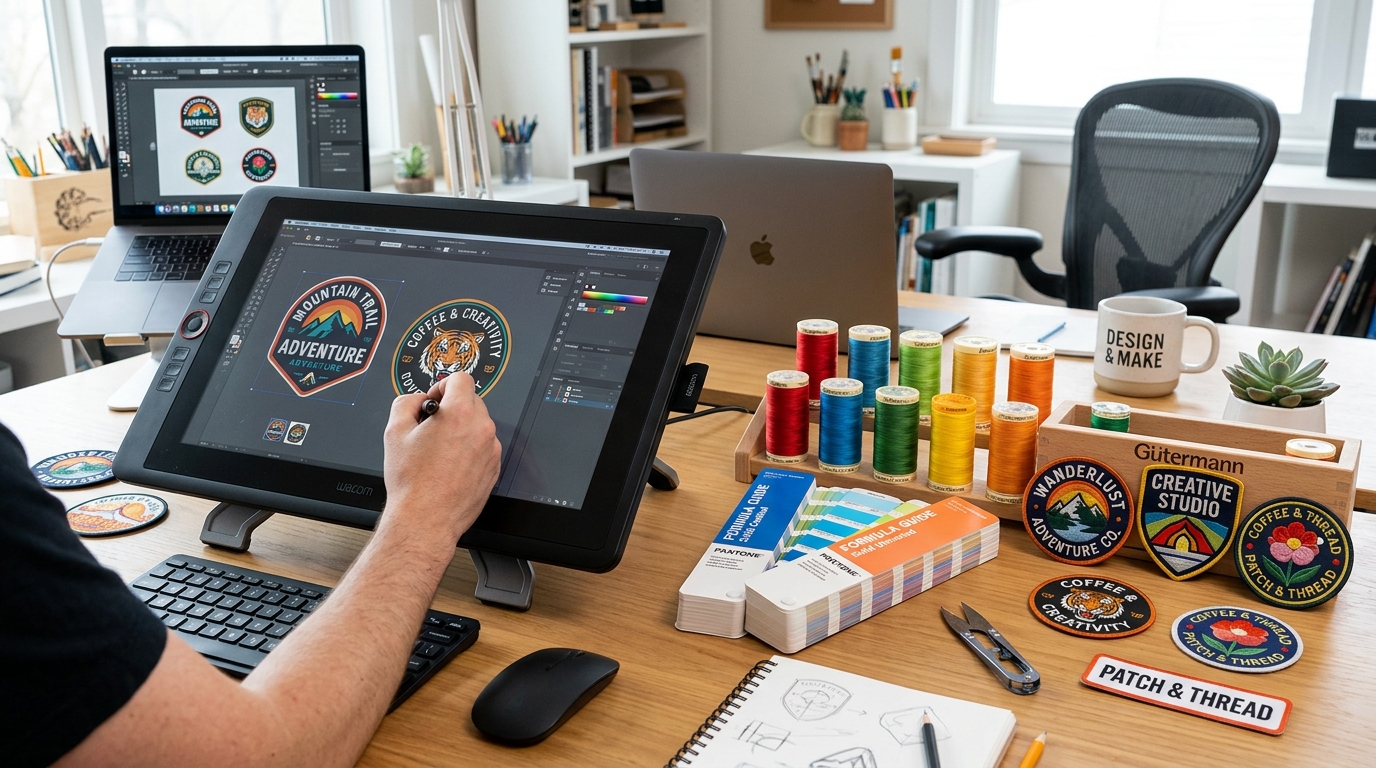
Creating a remarkable custom patch begins long before the first spool of thread is loaded onto an industrial embroidery machine. It begins in your graphic design workspace. However, designing for physical needle-and-thread embroidery requires a completely different mindset than designing for flat print or digital screens.
On an iPad screen or printed poster, you can render hairline 0.1-point strokes, subtle 5% color opacity drops, and complex photo gradients with ease. But an embroidery needle has a physical steel diameter of 0.75mm, and 40-weight polyester thread has dimensional mass and tension. When graphic designers submit web logos directly to an embroidery factory without adapting them for textile physics, the result is often illegible text, bunched thread nests, or distorted puckered fabric.
In this comprehensive design manual from Patched Custom, our master digitizers reveal the exact technical blueprints, vector file requirements, minimum line thicknesses, and digitizing secrets needed to translate your creative vision into an extraordinary physical patch.
Vector vs. Raster: Why File Format Dictates Patch Quality
The single most important technical requirement for custom patch production is submitting vector artwork rather than low-resolution raster imagery.
The Physical Constraints of Thread: 4 Golden Rules for Designers
Before submitting your artwork, print your patch design onto a sheet of paper at its exact real-world size (e.g., 3.0 inches wide). Step back three feet and squint. If fine serifs, tiny script letters, or thin accent lines disappear or blur together on paper, they will be completely unreadable when converted to physical thread.
Mastering Stitch Types: Satin vs. Tatami Fill vs. Running Stitch
When our master digitizers translate your vector shapes into an industrial embroidery file (such as a Tajima .DST or Barudan format), they assign specific stitch architectures to each element:
Satin Stitches (Columns)
A continuous, alternating zig-zag stitch that spans back and forth across a narrow band. Satin stitching creates the smooth, gleaming, radiant thread sheen seen on athletic typography, border outlines, and bold icons. The optimal width for a satin stitch column is between 1.5mm and 7.0mm. Anything wider than 8mm becomes loose and snags easily on branches or watch straps.
Tatami (Fill / Ceil) Stitches
When an area of your design is larger than 8mm wide (such as the solid background of a shield or the body of a mascot), a satin stitch cannot span the distance. Instead, digitizers use Tatami fill stitches—rows of tight, interlocked running stitches that create a textured, durable woven carpet. Digitizers can vary the stitch angle across adjacent sections to reflect light in different directions, giving flat shapes dynamic depth.
Running & Bean Stitches
A single-line stitch path used for delicate details, vein lines in leaves, or facial contours. To make a running stitch visible in embroidery, digitizers utilize a "Bean Stitch" (triple-pass running stitch) where the needle passes forward, backward, and forward again over each point, tripling thread presence.
Color Systems: Matching Pantone (PMS) to Thread Spools
Computer monitors use additive RGB light, while printers use CMYK inks. Embroidery uses physical spools of trilobal polyester thread dyed to fixed factory standards.
To ensure brand color consistency across millions of patches, Patched Custom utilizes the Pantone Matching System (PMS Solid Coated). We maintain digital lookup cross-reference libraries with major global thread manufacturers (including Madeira Polyneon, Isacord, and Robison-Anton):
- Specify PMS Codes: In your vector file, assign Pantone Solid Coated swatches (e.g., PANTONE 186 C for vibrant crimson or PANTONE 286 C for deep royal blue).
- High Contrast Is Mandatory: Low-contrast elements (such as dark navy text on a black background) that look subtle on an illuminated retina display will disappear on fabric. Always ensure at least a 30% tonal contrast between adjacent elements.
- Metallic & Specialty Threads: If your design calls for real metallic gold, antique silver, or photoluminescent glow-in-the-dark effects, specify those callouts in your design notes.
What Is Digitizing? Why Auto-Tracing Fails Miserably
Many graphic designers mistakenly assume that "digitizing" a patch means clicking the "Image Trace" button in Adobe Illustrator or using free automated software to convert a JPEG into a stitch file.
Auto-digitizing produces catastrophic results. Software algorithms do not understand textile physics: they do not know that stitching horizontally pulls fabric inward while pushing it outward vertically (known as push-and-pull compensation). They do not know how to construct structural underlay stitches (the foundational framework stitched first to anchor the twill before decorative top stitching is laid down).
Every design submitted to Patched Custom is manually plotted by senior master digitizers with 15+ years of experience. We program custom push-pull compensation, calibrate underlay lattice density, align stitch angles with natural light reflection, and simulate thread tension on Tajima commercial machinery to guarantee flawless, pucker-free embroidery.
Master Vector Preparation in Adobe Illustrator & CorelDRAW
Before handing your vector artwork to our digitizing engineers, following this 5-step pre-flight checklist will guarantee faster proof approval and flawless stitching:
Stitch Density Science: The 0.40mm Golden Rule
In embroidery software (such as Wilcom EmbroideryStudio e4 or Tajima DG/ML Pulse), digitizers must calibrate stitch density—the spacing between consecutive needle penetrations:
- Standard Commercial Density (0.40mm Spacing): The industry gold standard. Provides 100% opaque thread coverage over the base twill without overloading the fabric with excessive thread bulk.
- High Density (0.35mm to 0.38mm): Used for micro-lettering and fine outlines to ensure crisp edge definition and razor-sharp serifs.
- Danger: Over-Stitching (<0.30mm Spacing): Stacking too many stitches into a tiny area causes needle deflection, thread shredding, fabric cutting (the needle acts like a hole punch), and stiff, cardboard-like patches that will not bend.
Decoding Embroidery Machine File Formats (.DST vs .EMB vs .PES)
When you receive your production package, you may encounter different embroidery file extensions. Here is what they signify: