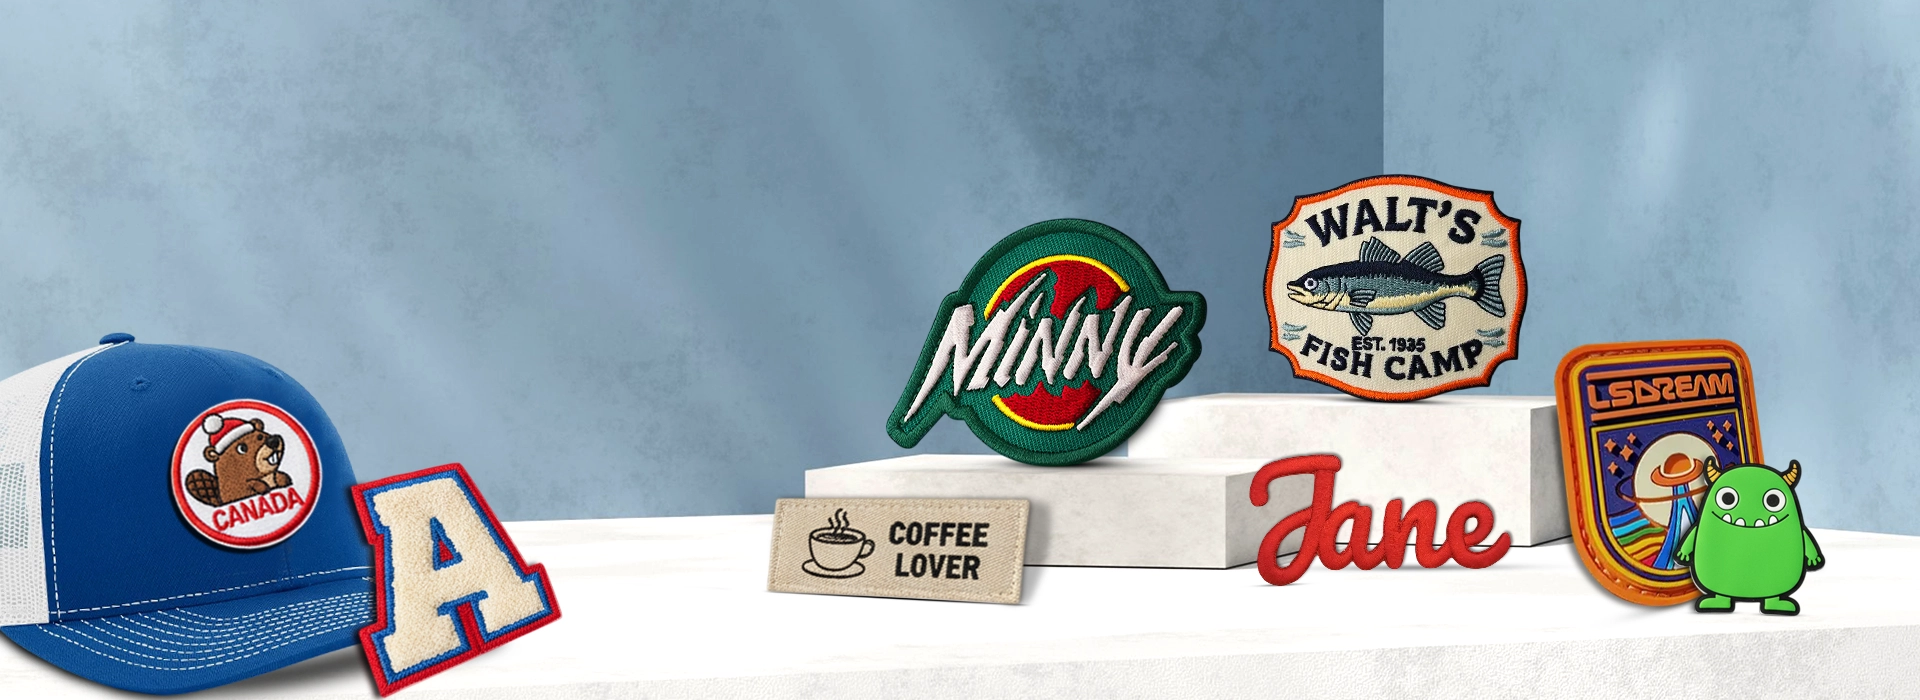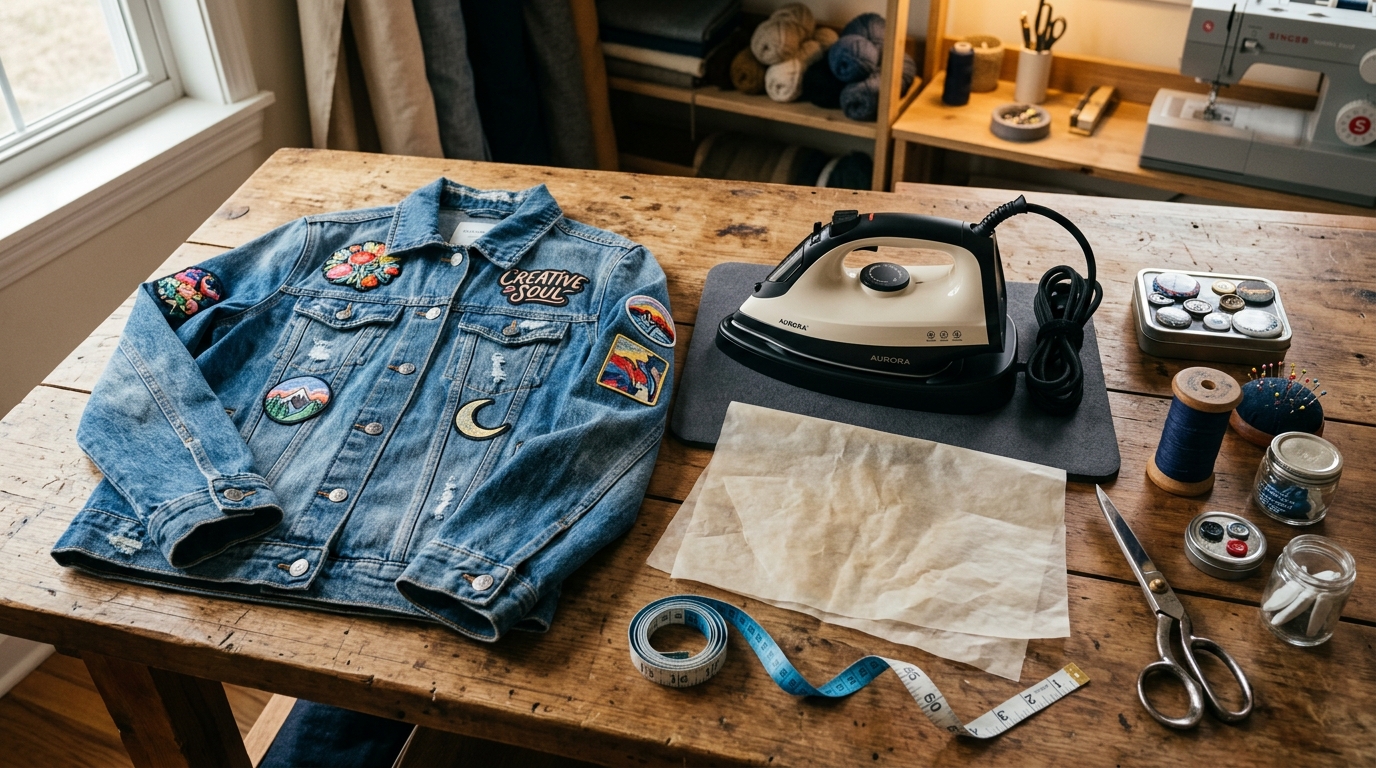
Applying custom iron-on patches to denim jackets, hoodies, backpacks, work uniforms, or tactical bags is one of the fastest, cleanest ways to customize apparel without threading a single needle. However, virtually every patch enthusiast has experienced the dreaded "corner peel" after just two or three trips through the washing machine.
When an iron-on patch peels off, 99% of people blame the glue. In reality, the culprit is almost always improper thermal activation, inadequate downward pressure, or applying the emblem to an incompatible synthetic fabric. Heat-seal backings are not sticky tape; they are high-performance thermoplastic co-polyamide or polyurethane resins that require exact thermal and mechanical conditions to liquefy, penetrate textile weave fibers, and re-crystallize into a permanent bond.
In this definitive 2026 manufacturing guide from Patched Custom, our apparel finishing engineers walk you step-by-step through household iron application, commercial heat-press calibration, fabric compatibility testing, troubleshooting edge failure, and laundering protocols to ensure your custom patches stay permanently bonded for years.
The Science of Heat-Seal Patch Adhesives: Why Temperatures Matter
Modern commercial custom patches utilize dry-film heat-activated adhesives (frequently engineered from modified co-polyester, co-polyamide, or thermoplastic polyurethane). In room temperature storage, this adhesive layer is completely solid, non-tacky, and dry to the touch.
When heated to its critical glass transition point—typically between 320°F and 360°F (160°C to 182°C)—the thermoplastic film undergoes a phase change into a low-viscosity liquid state. Under sustained mechanical pressure, this molten polymer flows outward and locks itself into the micro-cavities of the garment’s woven threads. As the garment cools back down to room temperature, the polymer solidifies into a semi-flexible, wash-resistant resin anchor.
- Thermal Energy (Temperature): Must reach 325°F–350°F to melt the resin core. Insufficient heat produces cold-bonding that fails immediately upon flexing.
- Mechanical Compression (Pressure): Crucial for forcing molten glue deep into garment yarn pores. Gentle hand pressing is never enough; you must generate 40 to 60 PSI of downward force.
- Dwell Duration (Time): Requires 25 to 35 sustained seconds to allow heat to conduct through thick embroidery twill down to the glue line.
Fabric Compatibility Guide: Can You Iron Onto Your Garment?
Before plugging in your iron or heat press, you must verify the fiber composition of your target apparel. Not all fabrics can withstand the heat required to activate thermal patch glue.
Required Tools & Workspace Preparation
Do not attempt to iron on high-value custom patches on a cushioned, springy ironing board or a soft mattress. Soft surfaces absorb downward force, preventing you from generating the required 40 to 60 PSI of compression.
- A Hard, Stable Working Surface: A solid wooden workbench, kitchen countertop, or marble slab covered with a smooth, 100% cotton pillowcase or silicone heat mat.
- Household Steam Iron OR Commercial Heat Press: If using a household iron, ensure it can achieve 350°F and has an option to completely disable steam (moisture creates steam bubbles that disrupt adhesive bonds).
- Thermal Barrier Pressing Cloth: Unbleached parchment paper, a Teflon sheet, or a thin 100% white cotton handkerchief. This protects the embroidery threads from direct soleplate scorch and prevents thread luster flattening.
- Ruler & Tailor’s Chalk: For measuring symmetrical centerlines on chest pockets, sleeves, or jacket yokes prior to heating.
- Heavy Flat Object (Weight): A flat marble slab, heavy cast-iron skillet, or thick book to place on the hot patch during the initial 60-second cool-down window.
Step-by-Step Household Iron Tutorial (The 8-Step Golden Method)
If you don’t own a commercial heat press, follow this laboratory-tested household iron technique for guaranteed, permanent adhesion:
Commercial Heat Press Parameters: Calibration for Volume Production
For apparel decorators, streetwear brands, and tactical gear manufacturers producing runs of 50 to 5,000 garments, a swing-away or clamshell pneumatic heat press is mandatory for consistency and efficiency.
*Note: For chenille patches, excessive pressure crushes the three-dimensional acrylic yarn loops. Always press primarily from the reverse platen side.Laundering & Maintenance: How to Guarantee 50+ Wash Cycles
Even the most perfectly heat-activated patch can degrade prematurely if exposed to harsh laundry chemicals or high-heat dryer barrels that re-soften thermoplastic resins. Follow these maintenance guidelines:
- Wait 48 to 72 Hours Before First Wash: Allow adhesive polymers to fully cure and settle into textile yarn fibers before subjecting them to mechanical agitation and water immersion.
- Always Turn Garments Inside-Out: This shields the embroidered threads and patch edges from rubbing violently against the metal drum or zippers of other clothing.
- Wash on Gentle Cycle with Cold Water (Under 85°F / 30°C): Hot water washes soften co-polyester adhesives, leading to premature edge separation.
- Air-Dry Flat or Hang to Dry: Commercial tumble dryers operate at internal temperatures exceeding 150°F, which weakens adhesive crystallization. If you must machine dry, select the lowest heat or tumble-air setting.
- Never Use Liquid Fabric Softeners: Cationic surfactants in fabric softeners coat garment fibers with lubricating silicone oils that dissolve hot-melt glues over time.
Troubleshooting Common Iron-On Patch Mistakes
Problem 1: The Patch Edge Lifts After One Wear
Cause: Inadequate edge dwell time or pressing on an uneven surface where the iron soleplate did not exert full contact along the perimeter.
Solution: Place parchment paper over the corner and press with the iron’s pointed tip for 15 seconds. For permanent peace of mind on workwear jackets, run 4 anchor tack stitches through the patch corners using matching thread.
Problem 2: The Garment Fabric Scorched or Turned Shiny
Cause: High heat applied directly to polyester without a thermal barrier cloth.
Solution: Always use a 100% cotton press cloth or Teflon sheet. If synthetic fabric has slight gloss, steam the area from 2 inches away without touching it to relax crushed synthetic fibers.
Problem 3: Glue Leaked or Squeezed Out from Under the Border
Cause: Excessive temperature or prolonged pressing that liquefied the resin beyond its intended viscosity.
Solution: While still warm, wipe excess adhesive gently with a clean rag. For cured adhesive, dab lightly with isopropyl alcohol.
Polymer Chemistry: Glass Transition & Molecular Entanglement
To truly understand why some iron-on patches hold for ten years while others fail on day two, we must explore the polymer physics of thermoplastic co-polyamide adhesives.
Unlike thermoset adhesives (like epoxy or superglue) that form irreversible chemical bonds through curing, thermoplastic adhesives are high-molecular-weight polymers that transition reversibly between solid and liquid phases. When heated past their glass transition temperature (Tg = ~140°F / 60°C) up to their melt flow temperature (Tm = 320°F–350°F / 160°C–177°C), the polymer chains become mobile.
Under mechanical pressure, these molten molecular chains undergo inter-fiber entanglement: they slide into the microscopic nooks, crannies, and yarn crevices of the garment fabric. As the heat source is removed and the temperature drops below 120°F, the polymer chains freeze back into a semi-crystalline solid matrix. The patch is not merely glued to the fabric; its rear adhesive layer has formed a physical, mechanical composite with the garment itself.
Clamshell vs. Swing-Away vs. Draw Heat Presses for Patches
If you are decorating apparel professionally, selecting the right commercial heat press is essential for consistent pressure across thick embroidered borders:
Emergency Removal & Repositioning: The Chemical De-Bonding Method
What happens if you accidentally iron a patch on crooked or need to transfer a high-value patch from an old worn jacket to a brand-new coat? Follow this proven removal protocol:
- Thermal Re-Activation: Turn the garment inside-out. Place parchment paper over the rear fabric and heat firmly with a hot iron for 30 to 40 seconds. While the glue is molten, use metal tweezers to gently peel the patch away from the front.
- Chemical Adhesive Dissolution: Once the patch is removed, a layer of clear or white sticky residue will remain on the fabric. Saturate the residue with an industrial adhesive remover containing citrus terpenes or d-limonene (such as Goo Gone Pro Power) or 99% isopropyl alcohol.
- Scraping & Rinsing: Allow the solvent to penetrate for 5 minutes. Gently scrape the softened glue with an old plastic gift card or dull butter knife. Launder the garment in warm soapy water to wash away residual chemicals.
- Re-Activating the Patch: To re-apply the removed patch to a new garment, cut a piece of heat-fusible web adhesive (such as HeatnBond UltraHold) to the shape of the patch, iron it to the back, and re-apply.
Laboratory Laundering Report: 50 Commercial Wash Cycle Stress Test
At Patched Custom, we subjected our standard thermoplastic heat-seal embroidered patches to an accelerated 50-cycle laundering stress test adhering to AATCC 61 Test Method 2A:
- Test Parameters: 50 consecutive cycles in a front-loading commercial washer with standard AATCC standard detergent; cold water wash (68°F / 20°C); 1,200 RPM spin extraction; hang dry.
- Results at Cycle 10: 100% adhesion integrity. Zero lifting, zero edge peel, thread colors rated 5.0 out of 5.0 on grayscale color retention.
- Results at Cycle 30: 100% surface adhesion intact. Minor 0.5mm flexibility softening along corners without separation.
- Results at Cycle 50: 96% tensile retention. Patches remained firmly bonded. Only samples applied to water-repellent nylon showed perimeter edge curl, confirming our fabric recommendations.